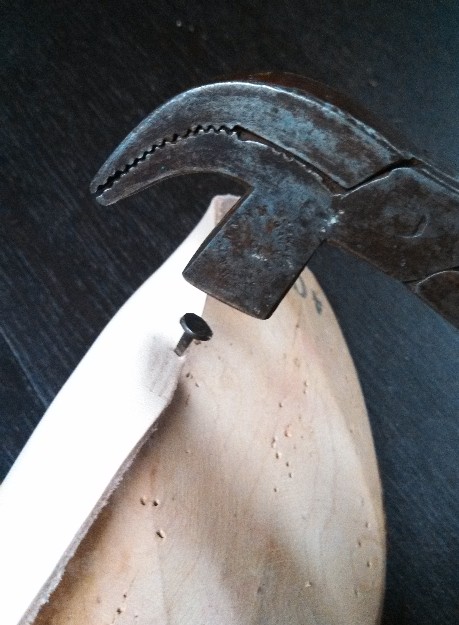
In one of the previous posts, I discussed the use of the hammer and mentioned the lasting hammer or lasting pliers. In this post, let’s talk a little about those tools and what they’re used for.
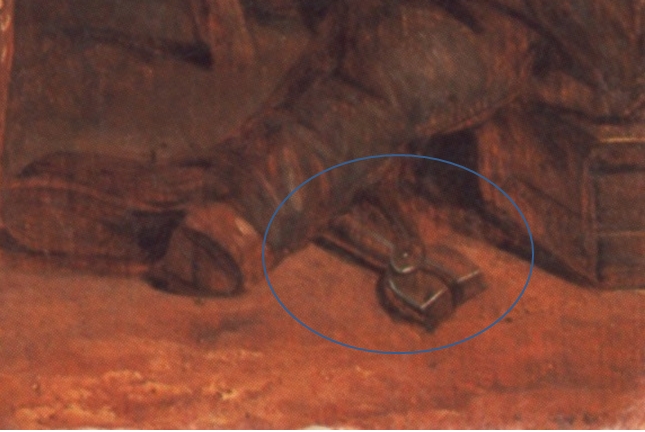
As part of the shoemaking process, for a lasted shoe, one tacks on an insole to a last, and then the upper is stretched around the last. However, to my knowledge, we don’t really have much evidence for “pliers” specifically for lasting shoes until the 1640s, and that comes from The Shoemaker Teaching the Linnet to Sing, possibly by David Teniers the Younger, 1640s, at the Northampton Museum Collection. Marc Carlson’s site on shoes is an excellent resource, and I cannot recommend it enough. Look at the blunt-nosed pliers-like object, and I think that it’s quite a strong bet that these are used for lasting.
Hopefully, you will agree with me once you read the rest of the discussion.
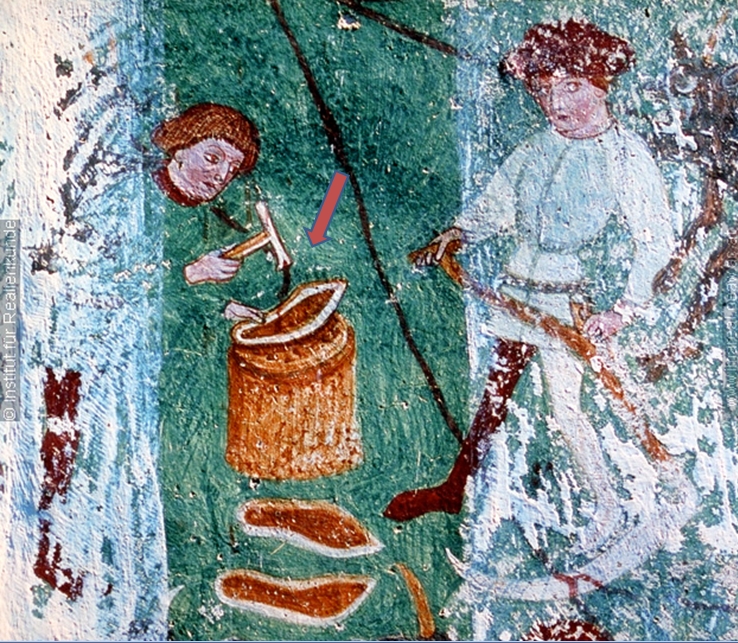
I don’t want to get too involved in a discussion of historical lasting, which has been addressed in some detail here. To summarize, we are not entirely sure how exactly the last was used in medieval shoes (and it may have differed depending on the place and time). There are some clues, as some shoes seem to evidence of holes consistent with a shoe constructed on a last, but many do not. It is very possible that the last was used as a shaping tool after the shoe was made up, at least in the early years. However, there seems to be evidence of shoes being worked on the last – take a look at this picture from a fresco from the Church of St. Jacob at St. Ulrich in Grooden, South Tyrol, dated to sometime between 1400 and 1475 (from Larsdatter’s excellent site). This fresco, showing craftsmen working on the Sabbath, is difficult to read, but it does appear that the worker on the left (the shoemaker), is pulling nails out of what appears to be a lasted shoe. My eyes could be deceiving me, but it also appears that those darker strokes could represent lasting tacks.
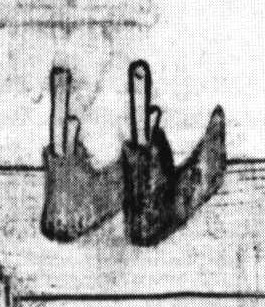
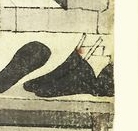
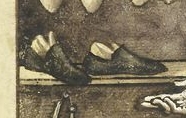
Details in drawings from the “Das Hausbuch der Mendelschen” in the Stadtbibliothek Nürnberg do seem consistent with shoes constructed while on the last, though, and the same basic process seems to have been used through the time of these pictures, from 1425, 1531, and 1598. At the minimum, it serve to show that lasts used a “shover” of some kind, which is pulled out of the shoe so that the last can be removed. See the entry on shover at Marc’s page, and again, I must note that Larsdatter as well as Marc Carlson linked above both have excellent links to pictorial images of shoemakers in action.
|
|
|
||
However, let us move on, as this site focuses primarily on Renaissance and later shoes which show strong evidence for lasting – indeed, it is really the only way to make a welted shoe.
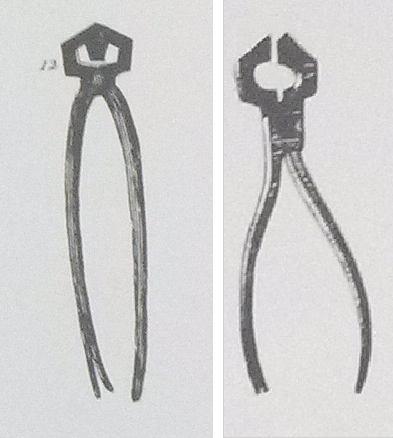
In Garsault’s work on shoemaking (12 in the picture), and Hartwig on the right (A German translation of Garsault’s work), lasting pliers are shown. They are of different form than the blunt-nosed pliers above, but their purpose remains the same. Garsault mentions that “the lasting pincers with toothed jaws [are] used for pulling, stretching out the leather, etc.”
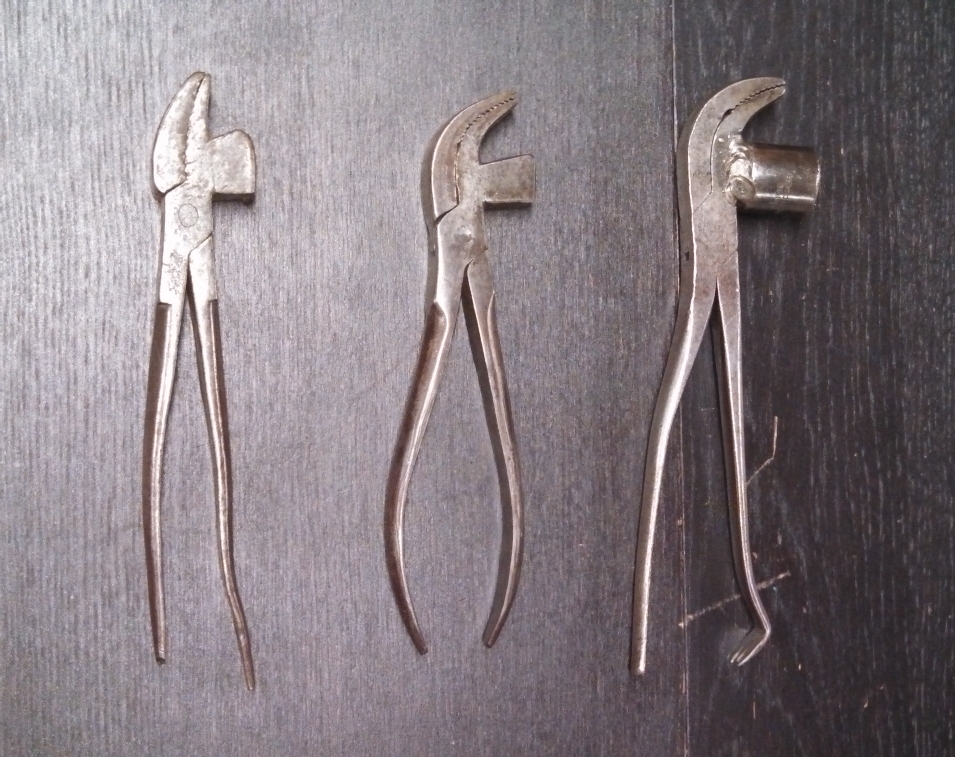
Though I am not aware of any medieval or renaissance evidence of lasting pliers, certainly blacksmiths in medieval times would have had the ability to create pincers and pliers similar to these, as they used pincers on a routine basis to hold hot metal (see the link above to images of period blacksmiths). The same pincers could probably easily be used as lasting pliers, and may indeed have been used as such. Anyhow, the exact purpose of such unusually shaped tools as shown above may not be immediately clear; let me demonstrate their purpose with some more modern lasting pliers that I use for shoemaking. Below, you will see a set of three vintage lasting pliers.
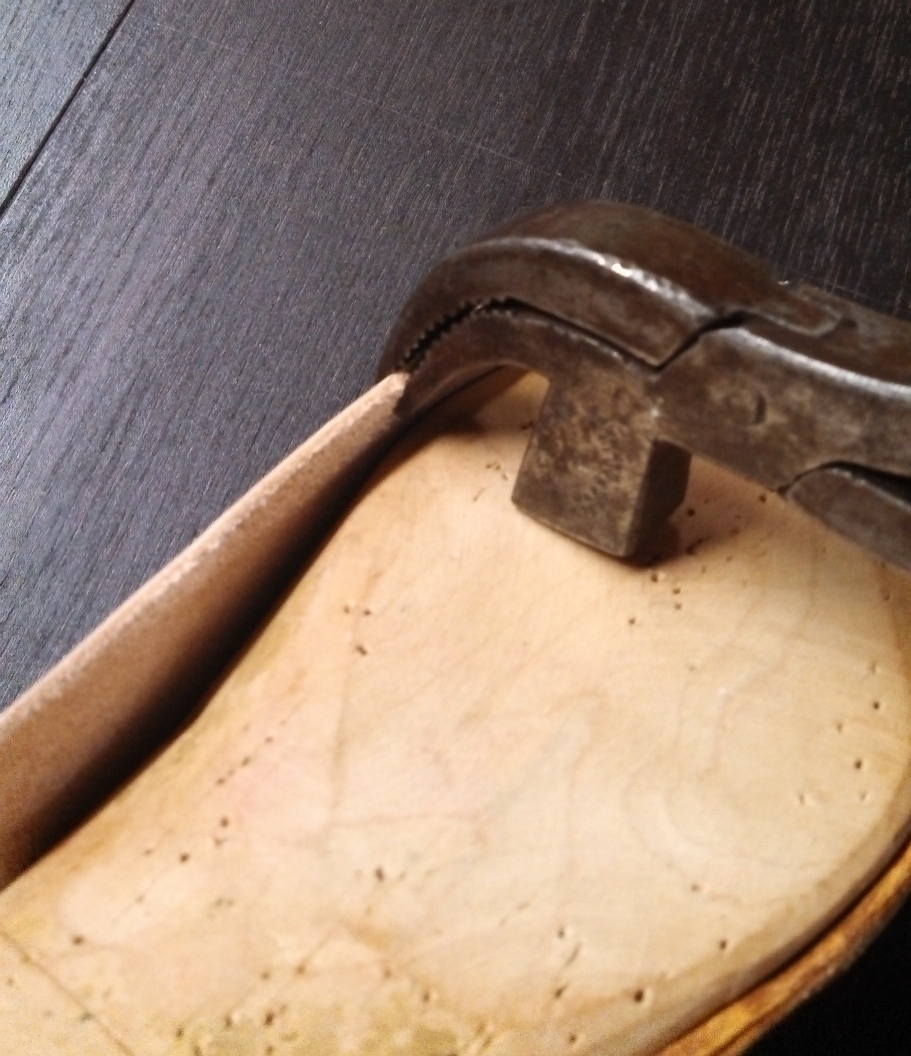
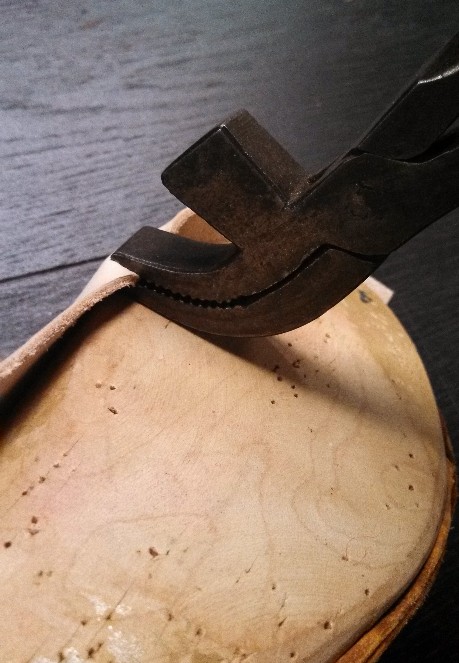
Note that these pliers all have a slightly curved pincer point, and there is a knop on the side. Again, this modern style probably dates to around the late 19th century, but their use is similar to that of the 18th and 17th C. pliers shown above. I use the middle one the most frequently, but even though the hammer knop on the right is welded on, I do like the one on the far right because of the nail puller at the tip.
Once an upper is closed (that is, the pieces of the upper are butted together and attached with round closing (see this link on Al Muckhart’s site for a fine description of round closing), then the upper is soaked and placed on top of the last. In order to take the shape of the last, the upper must then be stretched over the last and tacked down over the insole. Once mostly dry, the welt, upper, and insole can then be sewn together in the operation known as inseaming. Allow me to demonstrate this process, and you will see how the pictures of the 17th and 18th c. lasting pliers could have been used in a similar manner as these more modern lasting pliers.
The stretching step is done by grasping the lasting margin of the upper, and tugging it down over the insole. Usually, one starts at the very front of the shoe and then the sides and back are lasted. With a curved neck, one can grasp the leather in two ways, as you can see in the photos below. I rarely tend to grasp the leather “upside-down,” as on shown on the right, as the hammer knop acts as a fulcrum to stretch the leather. This is also the purpose of the blunt 17th C. pliers and the angled 18th C. pliers.
|
|
|
Once you have grasped the lasting margin of the upper and tugged the upper into place, it needs to be tacked down. I use sharp #10 carpet nails since they give an appearance of a period nail and they are easily obtained at the local hardware store. Using one hand to hold the stretched leather, the other hand can be used to place a tack into the stretched upper and the hammer knop is used to tack it in.
As you can see, the two period hammers above could be used in the same manner, and a nail can be used to tack an upper down without changing tools. With shoemaking as a livelihood, time spent putting down and picking up your tools is time that you’re wasting. Making things as efficient as possible with as few movements as possible separates the amateur from the professional, so the construction of these tools makes a great deal of sense.
