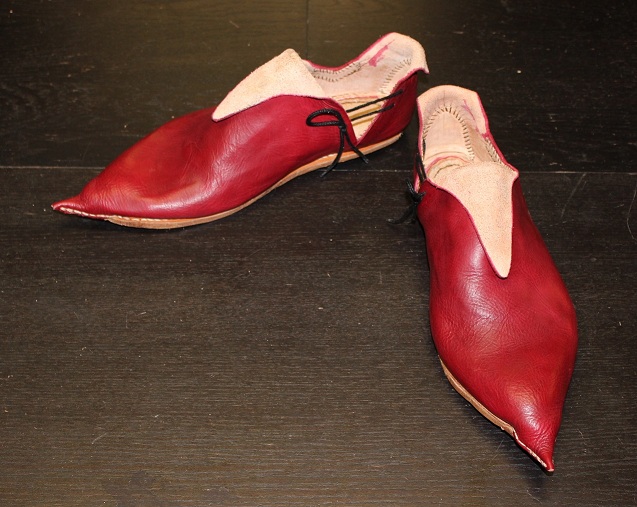
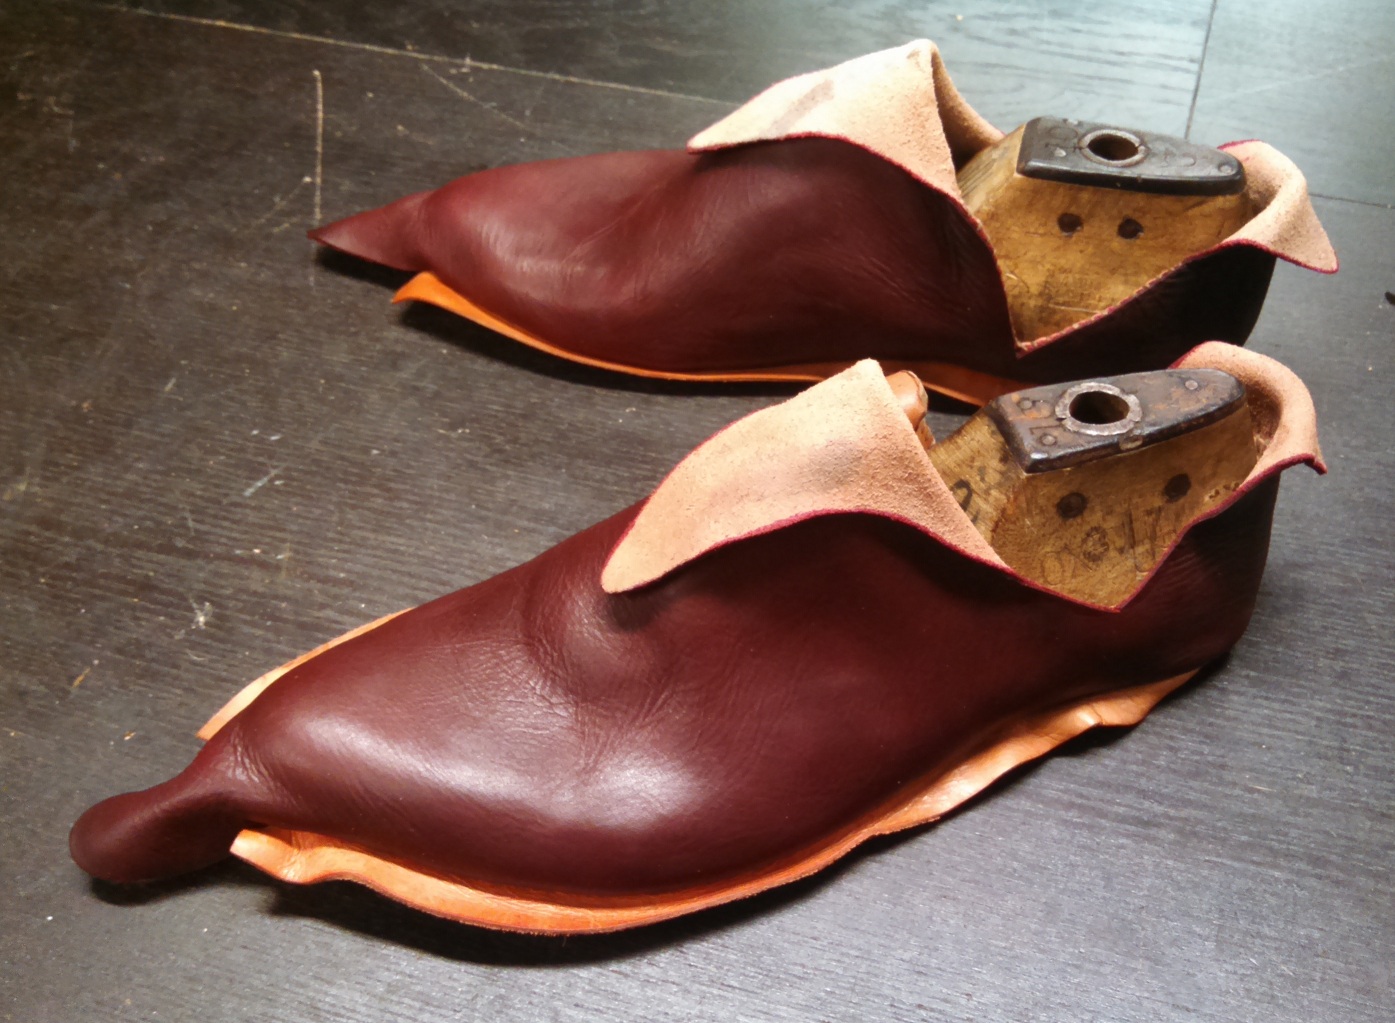
I just finished up the first half of a two-part commission which I’m rather pleased about. So as to tease you long-term, I’m not actually going to tell you what I’m bartering for, but rest assured that it will be pretty fabulous. =) And here, I present to you a pair of late 15th century shoes – these are what all the Burgundians are wearing! Illuminations from this time period are ubiquitous, and many of them show these types of poulaines, even on men in armor. Plus, they’re terribly fabulous and fashionable.
There’s more than meets the eye in this pair of shoes, for these are actually turn-welt shoes – that is, they are sewn inside out with a welt (a strip of leather) in between the upper and the sole, and when the shoe is turned, there is a strip of leather to which another sole can be sewn, making them hardier shoes.
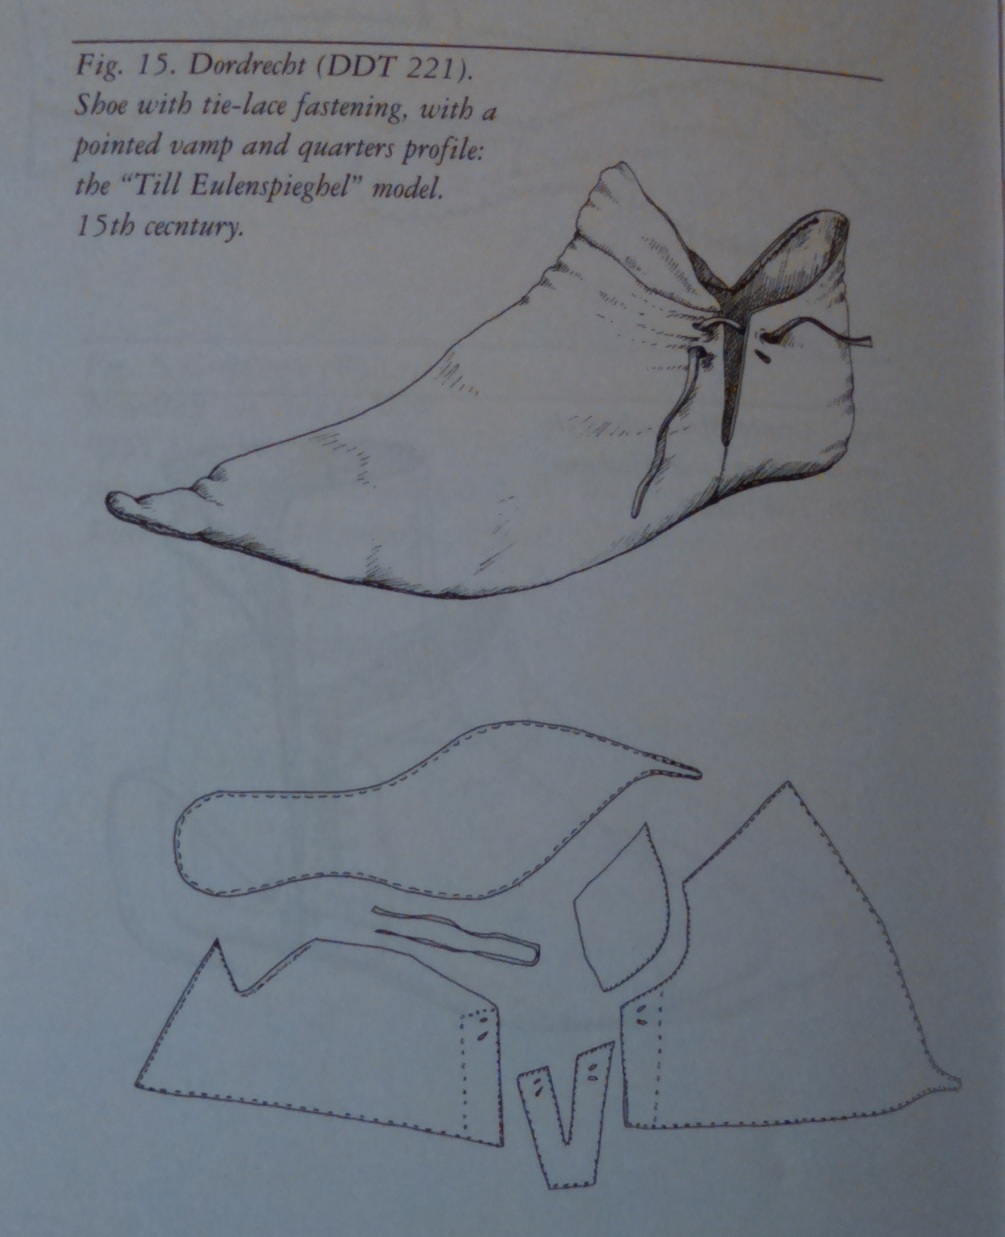
But, let us not get ahead of ourselves – here is the original inspiration for these shoes, from Goubitz’ “Stepping Through Time:”
Notice the high heel and high instep tongue, the front of which is a little “gathered” (although there aren’t any stitches to act as the gathering), but rather the act of wearing the shoe has made it take on this form. As mentioned before, this form is all over the later half of the 15th century, and there are plenty of images which show both tongue and heel up or down, depending on the wearer’s preference.
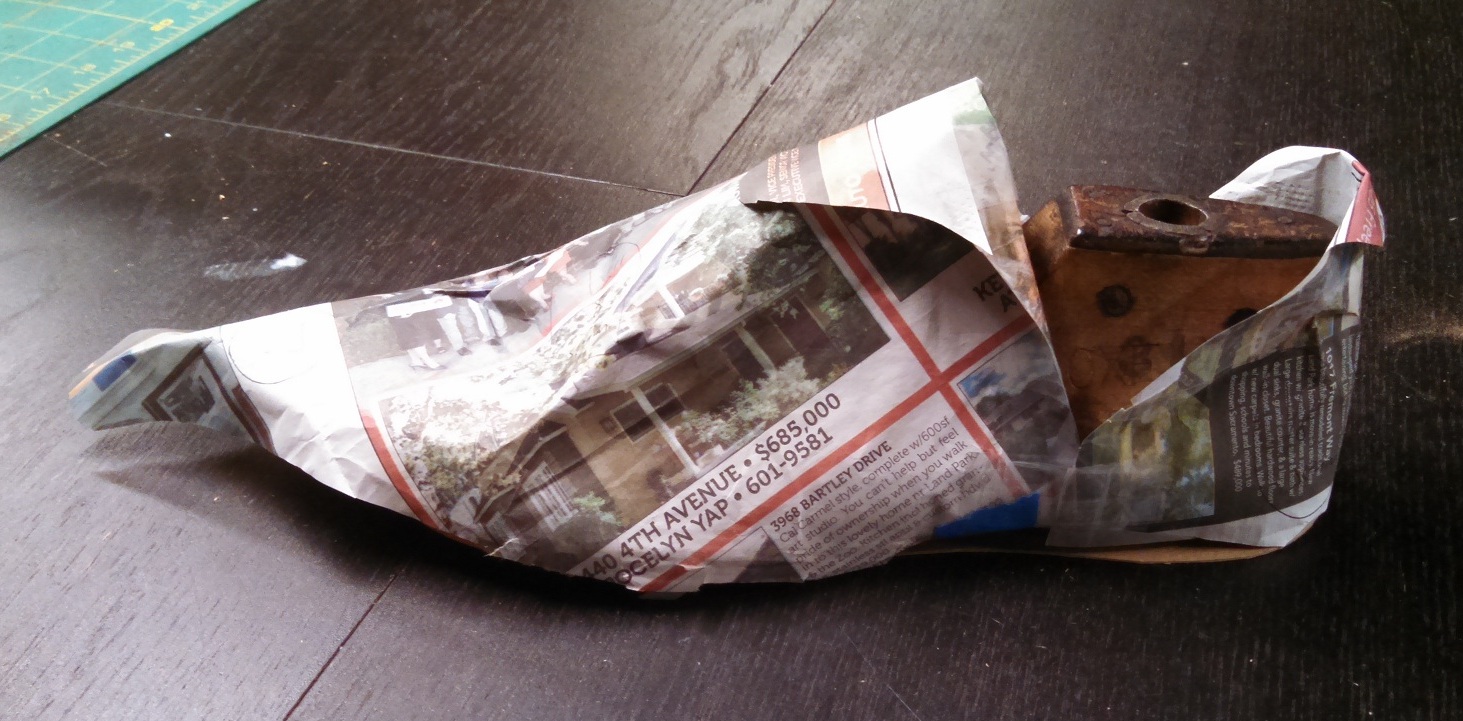
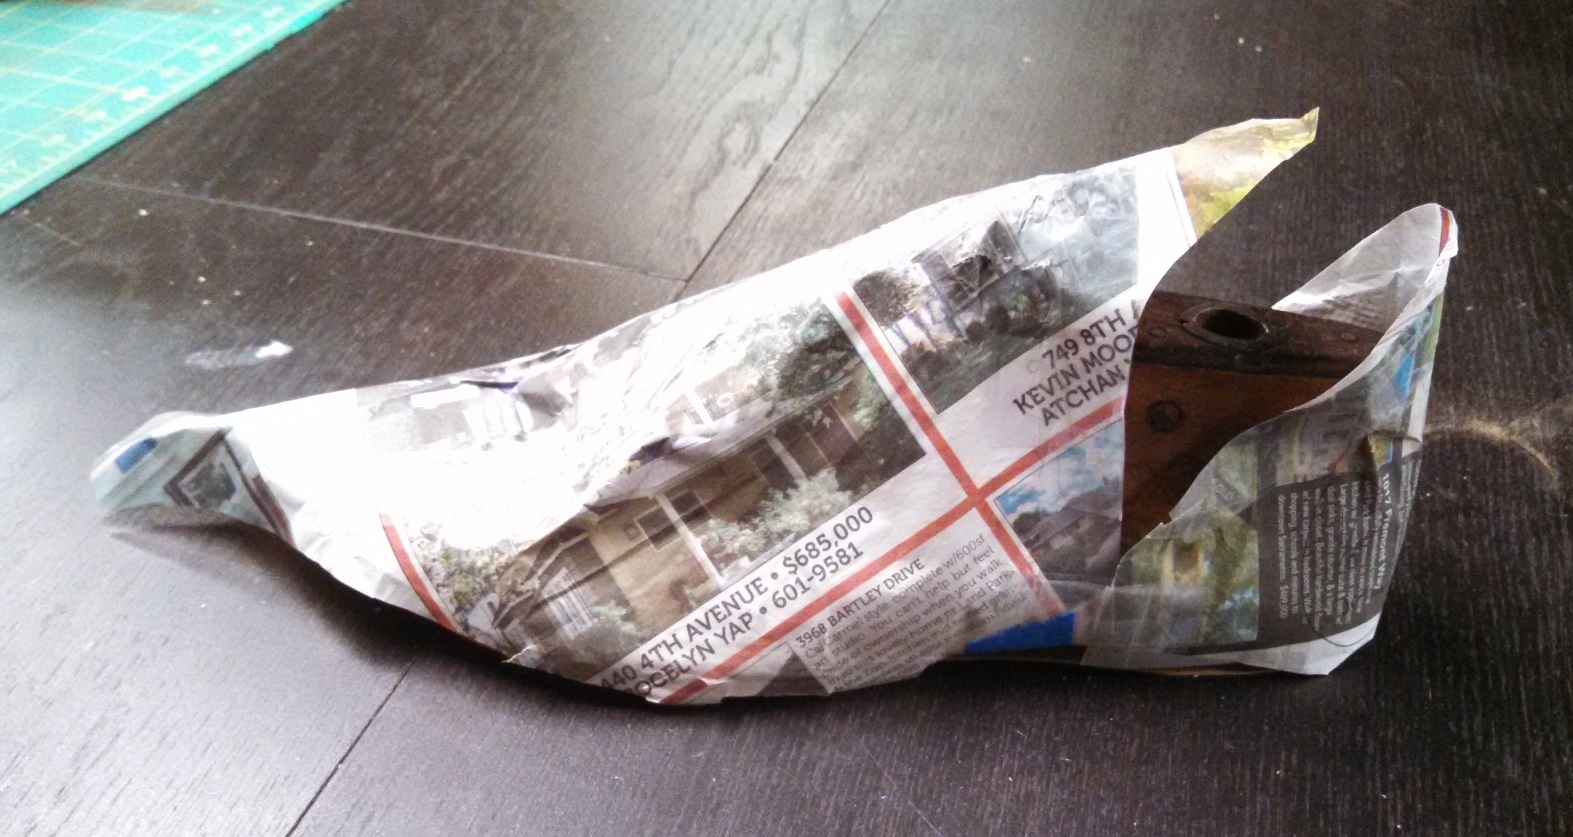
That said, patterning is always a tricky business, so newspaper and tape are your friends here:
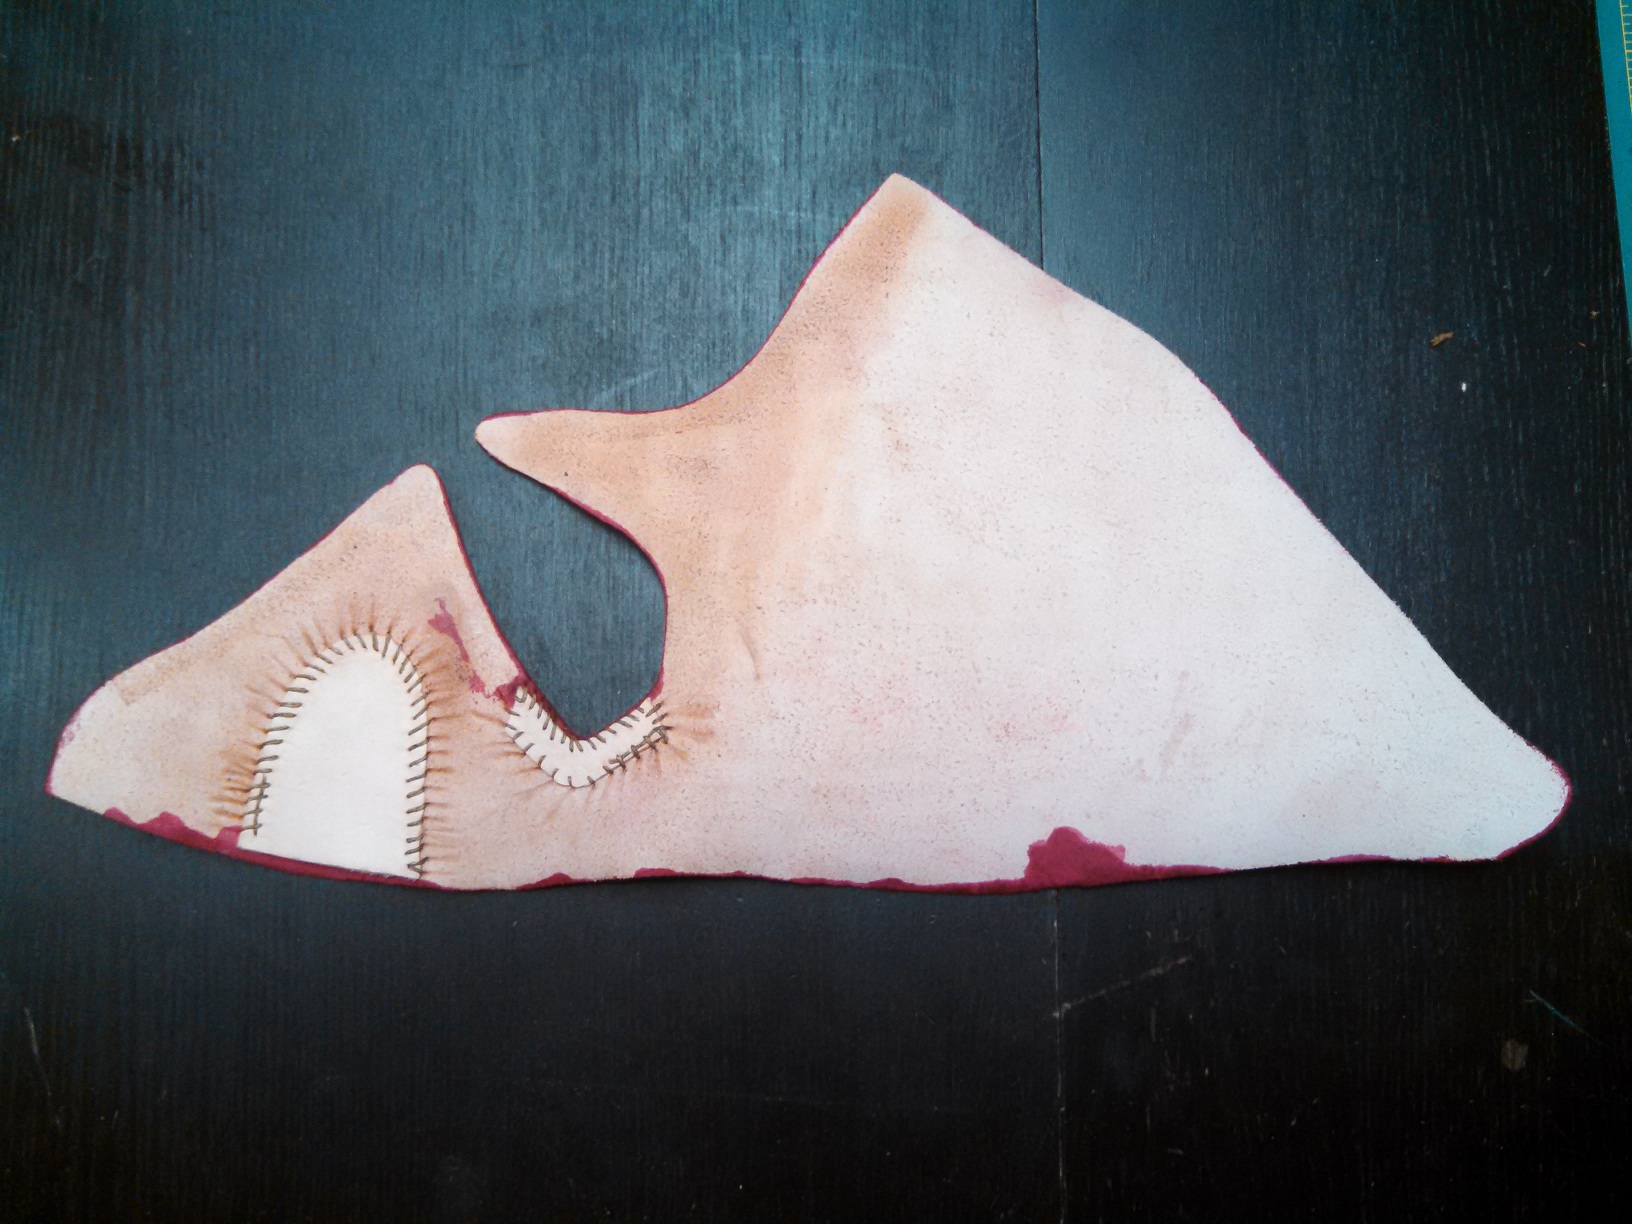
Cut out, with a heel stiffener whipped in, although the pattern calls for some stitching to reinforce the other side, I decided to put in a reinforcement piece there. Note that I cut the tongue as a single piece rather than piecing it in – I’m sometimes lazy that way, but there are plenty of other extant pieces which do exactly this. One thing that I’m not too pleased about is that although I used some tape to protect the upper from dye, I didn’t quite go far enough down the inside, so there are a few dye spots on the opening. Still, those will not be noticeable when wearing.
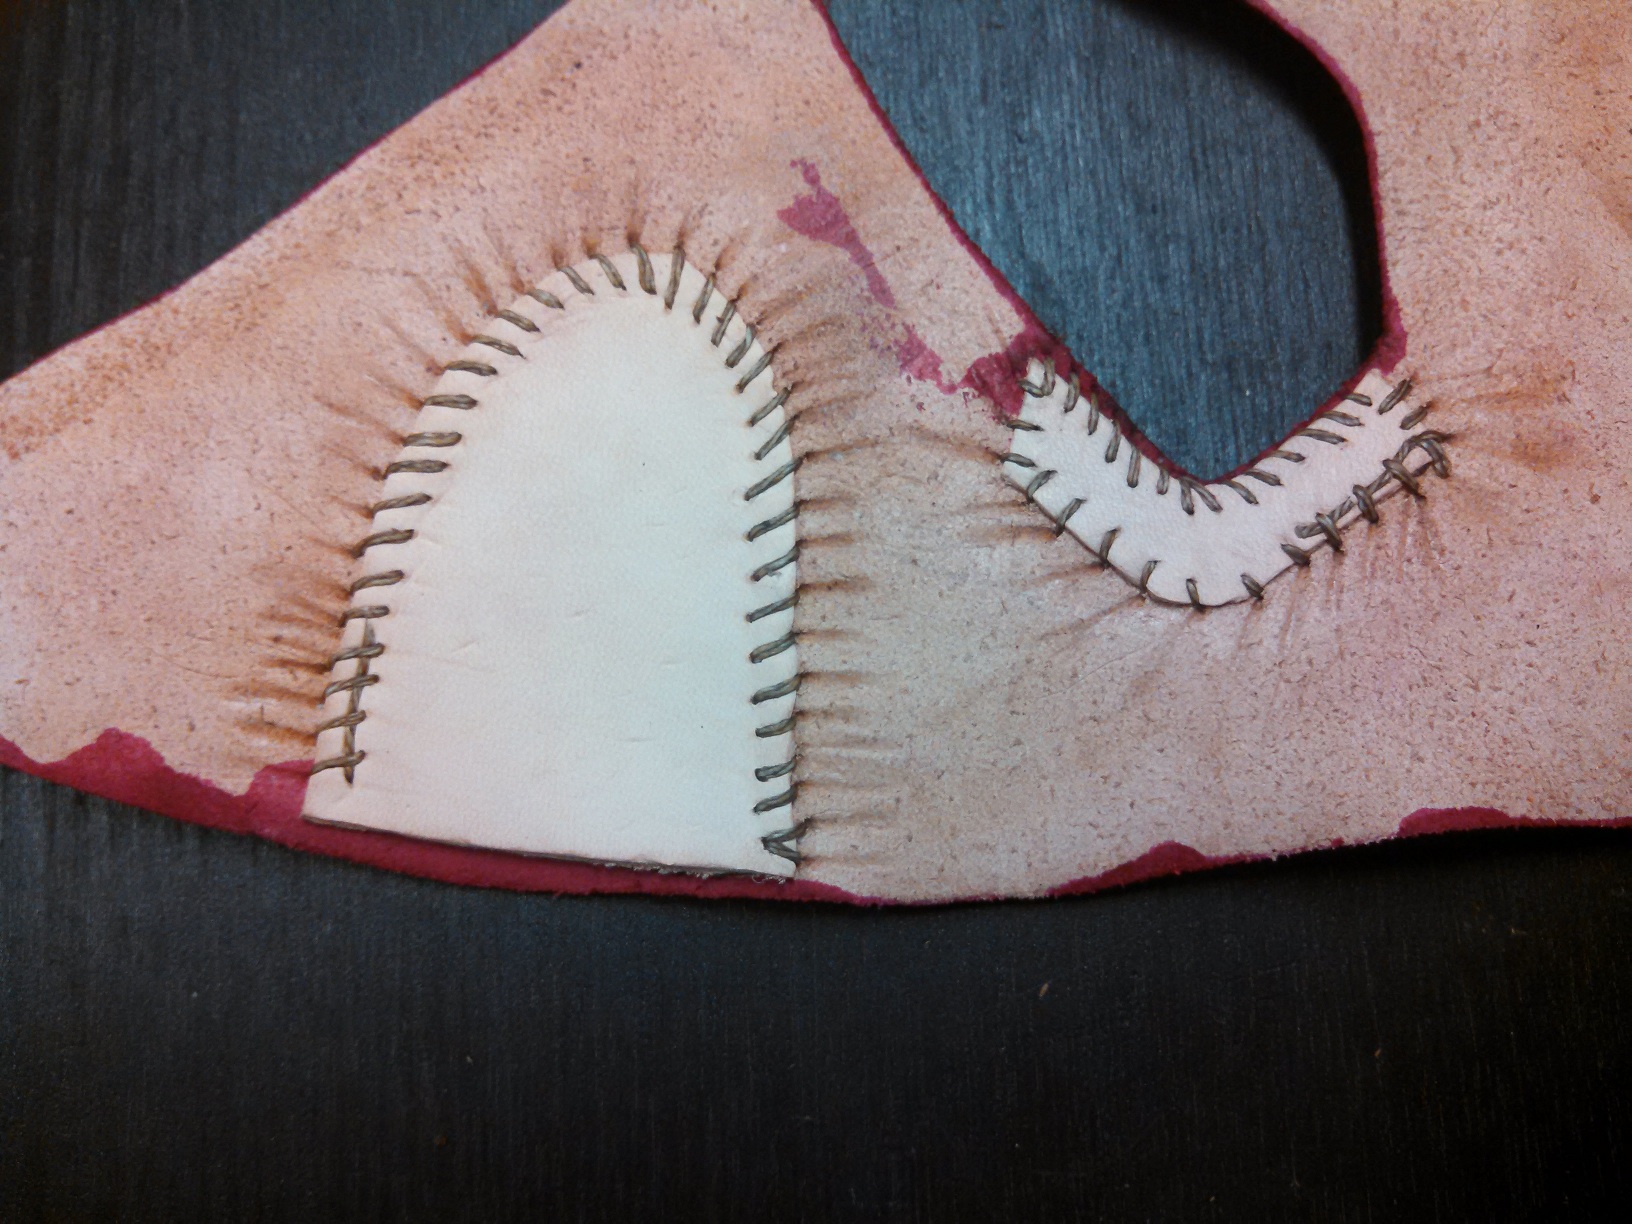
A close up of the heel stiffener and the reinforcement strip. I should note that all stitches on this shoe were done with a straight awl.
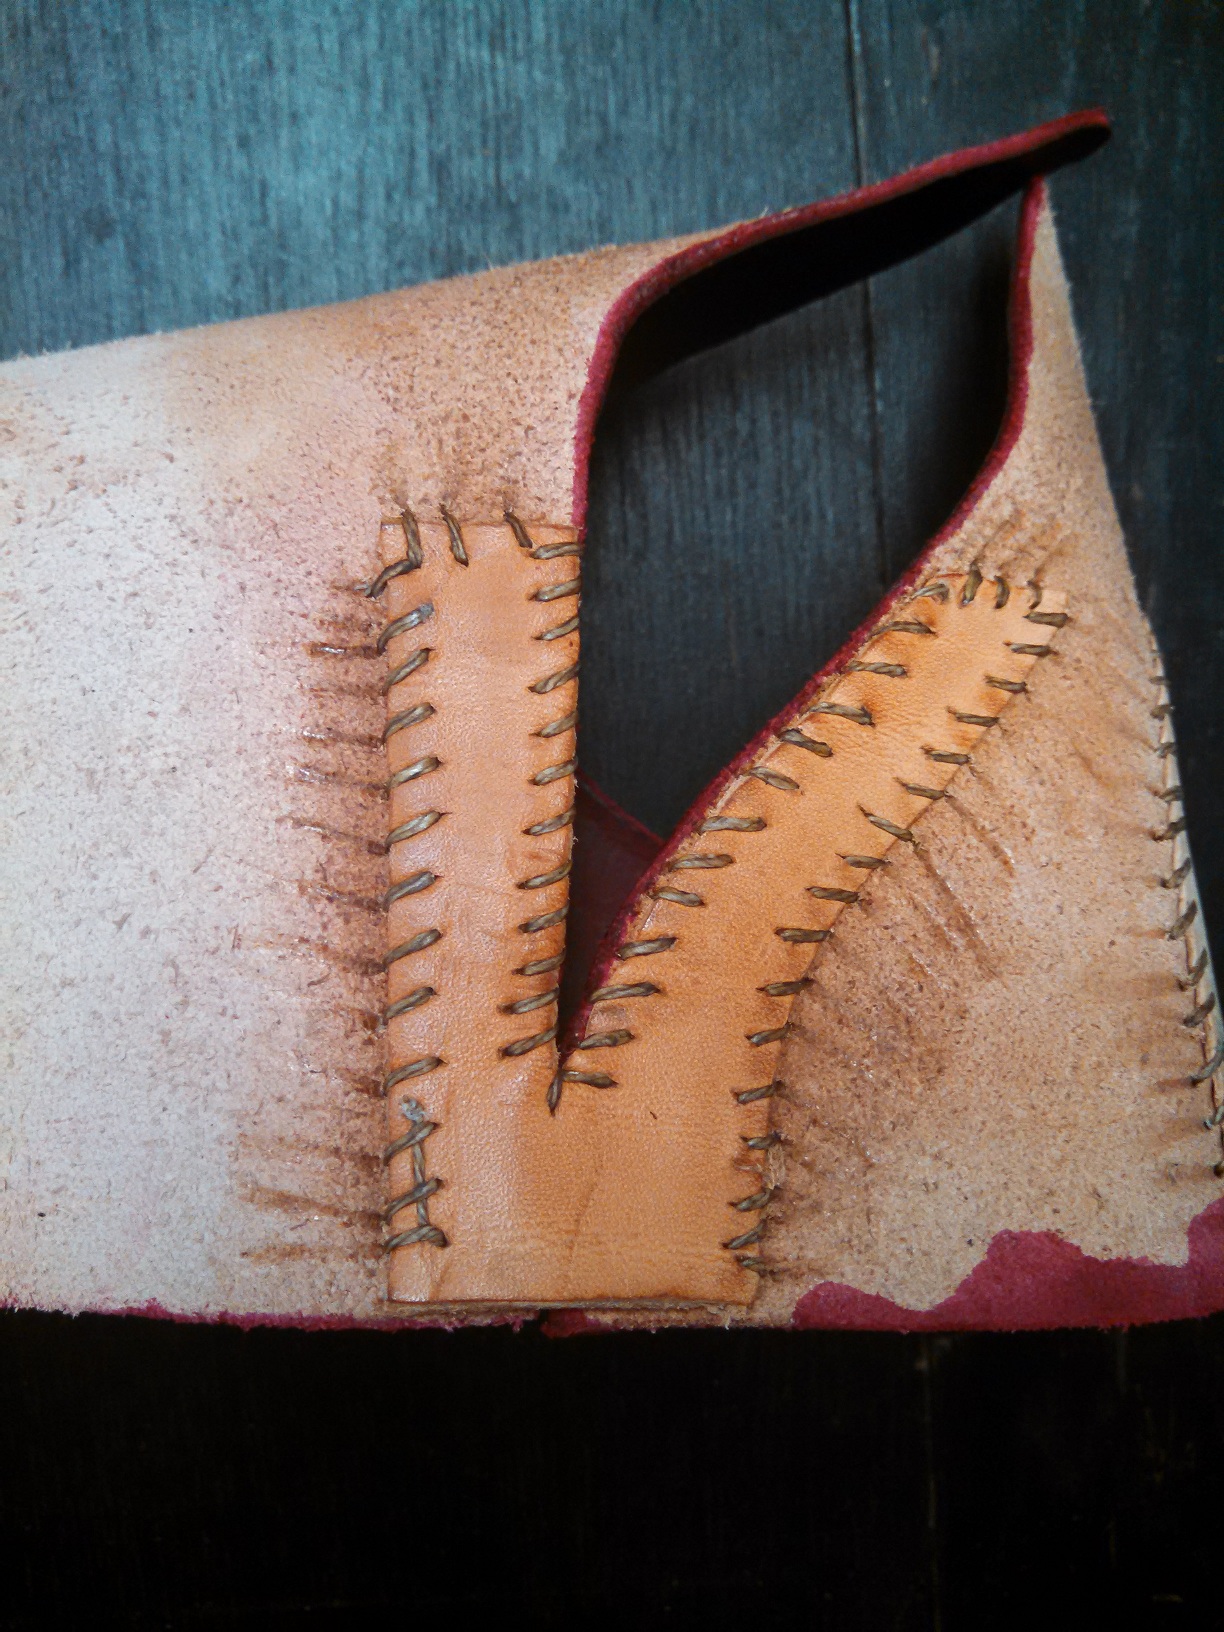
The pattern shows a reinforcing “V” for the lacing holes, and you will notice that the shoe must be closed before the V is pieced in. No worries there.
The closed uppers are dunked in a bucket for a good forty-five minutes, and then placed over the last. Note that the insole is already pegged on to the last for sewing (pegs actually worked just fine). Instead of lasting them, I took a couple of stitches in the waist to keep the upper on the last and inseamed, remembering to place the welt in between the upper and the sole (I had actually stitched about four inches before I remembered, and had to cut it all out!). Once sewn, trimmed, and the lasting margin tapped flat, the shoes can be turned and the lasts pounded back into the right-side-out shoes, looking like this:
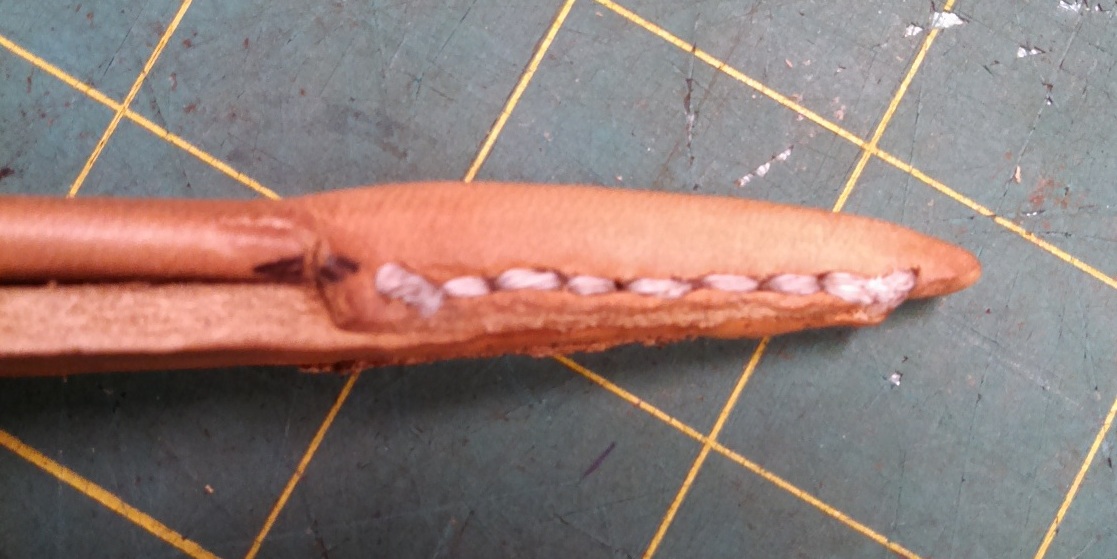
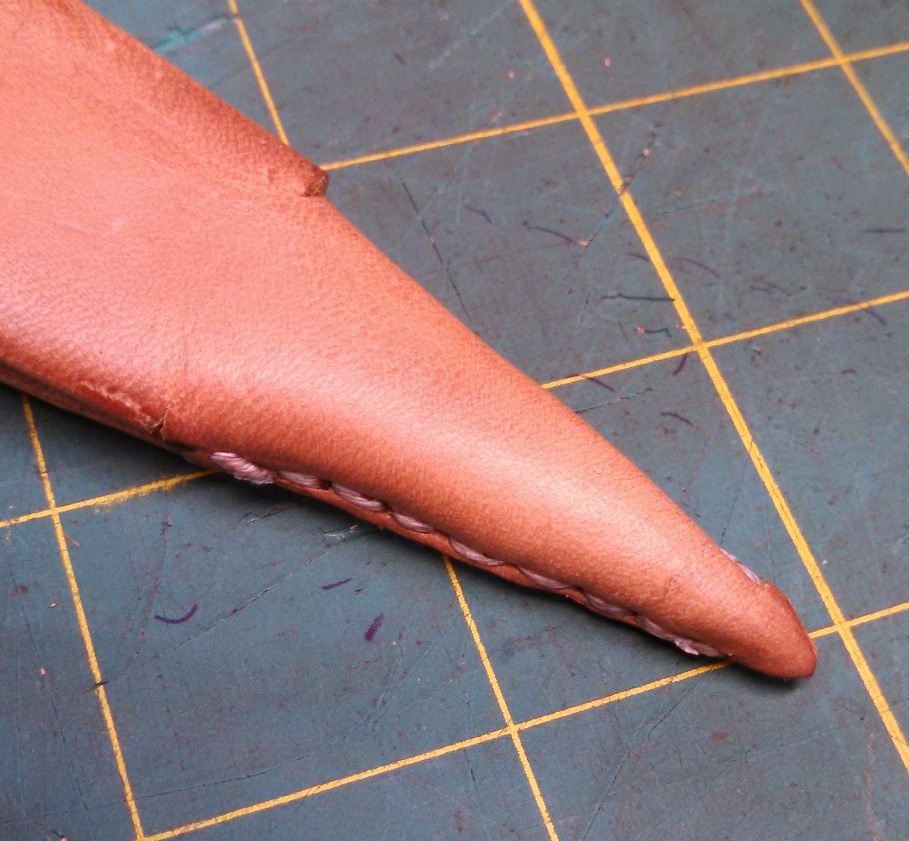
You’ll notice that there is a little flap of leather at the toe that is not yet sewn down. Normally, this would get sewn to the insole, but since we are putting a second sole on these shoes, they need to be sewn to the second sole. This is done directly through the sole itself, taking angled stitches where the toe is wide and going through the entire thickness of the toe where it is narrow. These pictures from a test piece may help explain a bit better. They show a small notch where the toe lays outwards and over the sole, is stitched through, and then trimmed off.
See below for the final pieces – they only lack laces, and we’re done! The laces used were black fingerloop-braids with waxed ends to prevent them from separating and fraying (though I did use a dab of glue to keep them that way). I couldn’t find much evidence of using aglets on shoes, and although it makes some sense to me to get them to easily lace through the holes, I went with the historical record and left the ends unadorned.
